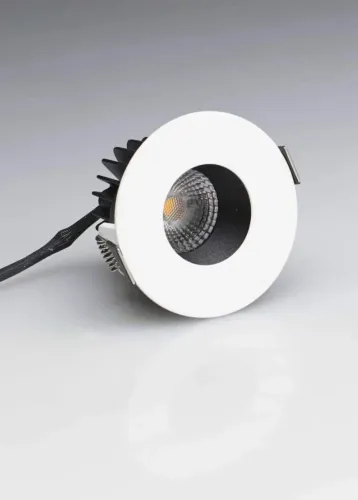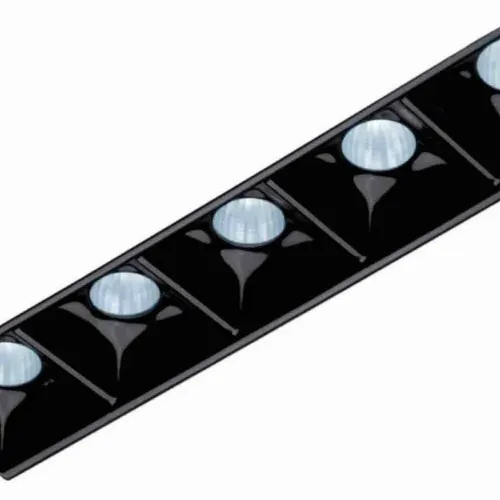
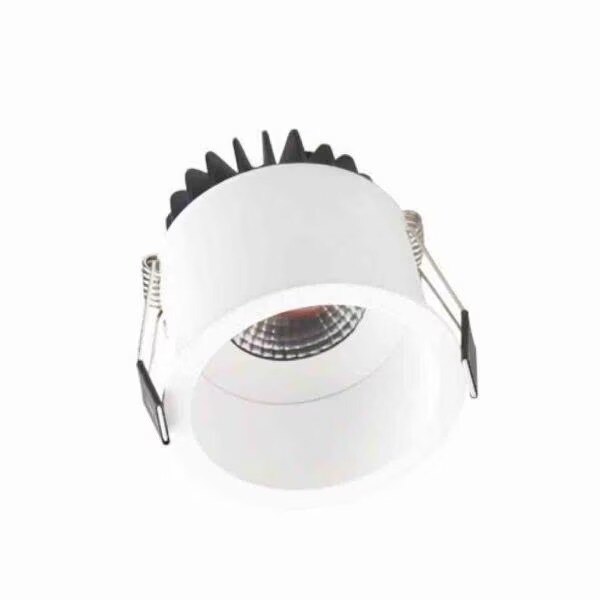
A 50 mm, 75 mm, or 125 mm aperture tells you only part of the story. The right choice depends on the ceiling opening, housing depth, delivered lumens, beam spread, ceiling construction, and the distance between fittings. By the end, you will have a practical way to specify the size and verify that it will actually fit.
Key takeaways
- Specify aperture, cut-out, fixture size and installation depth separately.
- Match lumen output to room use, not visible aperture alone.
- Use beam angle and spacing together to avoid dark patches.
- Confirm ceiling construction before selecting round or square fittings.
Start with the dimensions that installers actually need
A 75 mm visible aperture does not mean a 75 mm hole. For every trimless downlight for ceiling, installers need four separate dimensions: visible aperture, ceiling cut-out, outer fixture or back-box size, and installation depth. The depth must include the heat sink, connection space and driver, not just the lamp body.
| Nominal format | Dimension to verify | Why it matters |
|---|---|---|
| 50 mm | Aperture, cut-out and body diameter | Suits compact corridors, niches and joinery, but leaves less room for heat management |
| 75 mm | Aperture, cut-out, body diameter and depth | A common medium format; the hole can be materially larger than the visible opening |
| 90 mm | Complete cut-out template and housing depth | Provides a larger visual opening without guaranteeing higher output |
| 100 mm recessed | Recessed aperture, outer housing and ceiling void | Needs accurate recess and sufficient plenum space |
| 125 mm | Aperture, cut-out, body diameter and driver position | Supports larger output or broader coverage, but demands more ceiling space |
Use the manufacturer’s cut-out template and section drawing, not the product name, when ordering. A plaster-in frame for gypsum board is not automatically suitable for concrete or masonry.
For a stretch ceiling, coordinate the nominal diameter with the membrane reinforcement ring and rigid support platform before fabrication; a catalogue aperture alone can leave the fitting impossible to mount. A level mock-up also exposes halos, cracked joints and uneven shadow lines before installation.
Match aperture size to light output, not appearance
A 50 mm aperture is not automatically the right choice for a small room, and a 125 mm aperture is not automatically better. Select the size that can deliver the required light without overheating, then check whether its appearance suits the ceiling.
A practical starting comparison is:
| Aperture | Typical use | Output and ceiling implication |
|---|---|---|
| 50–75 mm round | Corridors, niches, accent or localized task lighting | Lower output; suited to normal residential ceiling heights |
| 75–100 mm round or square | Bedrooms, living rooms and hospitality areas | General-purpose output with more optical and thermal capacity |
| 125–150 mm or larger | Open rooms, higher ceilings and broad coverage | Higher delivered lumens and wider optics; needs a larger housing |
Room function sets the target illuminance. A corridor needs less light than a kitchen work surface, while a living room may need layered rather than uniform illumination. Convert that target, room area and fitting quantity into required delivered lumens; do not select by wattage alone.
Wattage tells you electrical consumption, not useful light. Compare LED trimless downlight options using delivered lumens, CCT, CRI, beam data and lumen maintenance. At a higher ceiling, light spreads over a larger area and illuminance falls, so choose higher delivered lumens or more fittings rather than simply enlarging the visible aperture.
A high-output small fitting also creates more heat. Confirm the permitted ambient temperature, insulation clearance and driver position before specifying it for an insulated ceiling.
Use beam angle and spacing to prevent dark patches
A 24° beam concentrates light on artwork or a counter, while a 40°–60° beam gives more even ambient coverage. A narrow beam on wide spacing creates bright circles and dark patches, so choosing a smaller aperture will not solve the problem; reduce spacing, increase fitting quantity, or select a wider beam.
Estimate the fitting quantity from target illuminance × room area ÷ delivered lumens per fitting. Then verify the result against the manufacturer’s photometric file, ceiling height, surface reflectance, maintenance factor, and beam angle. Use delivered lumens, not wattage, because two fittings with the same input power can produce different usable light.
For a trimless downlight for ceiling applications, set the layout around the walls as well as the room centre:
- Place the first row far enough from the wall to avoid a harsh bright spot, but close enough to light shelving, artwork, or vertical finishes. Check the beam spread at the wall rather than using the aperture diameter as the guide.
- Add fittings when a narrow beam, high ceiling, dark surface, or low-lumen miniature fitting produces uneven illuminance. A larger aperture may provide more output or better glare control, but confirm the cut-out and housing depth separately.
- Use wider beams or closer spacing for general lighting; use narrow beams and deliberate wall distance for accents. Request an illuminance layout or IES/LDT photometric file before fixing the quantity.
A visual mock-up or lux calculation will expose dark patches before the ceiling is closed.
Check the ceiling construction before choosing round or square
A 75 mm visible aperture does not mean a 75 mm ceiling hole. The cut-out template, outer housing, and installation depth must be checked separately; confusing them can leave the fitting impossible to install or weaken the plaster finish.
| Ceiling condition | Suitable approach | Size and shape consequence |
|---|---|---|
| Gypsum board | Use a compatible plaster-in frame and jointing compound | Round or square works, but the frame must match the board thickness and exact cut-out |
| Concrete or masonry | Use a mounting box, recessed sleeve, or approved surface support | Do not fit a gypsum plaster-in frame directly; allow room for the deeper housing |
| Shallow ceiling void | Choose a shallow body or remote-driver model | Reduce depth, not automatically the aperture; the heat sink, connector, and driver still need clearance |
| Stretch ceiling | Add a rigid structural platform and reinforcement ring before membrane fabrication | Coordinate the nominal diameter, cut-out method, and heat management with the membrane installer |
Choose round when the ceiling can accept a circular template and you want fewer visible corner errors. Choose square when the architectural layout demands straight lines, but an inaccurate corner cut can produce an uneven shadow line that is harder to disguise.
Level the frame before plastering. A tilted frame, cracked joint compound, or inaccurately cut aperture can create a halo or an out-of-round opening. For a stretch ceiling, approve a sample installation first; the reinforcement ring, not the catalogue aperture, determines whether the chosen trimless downlight size will fit.
The trimless downlight size guide is only a starting point.
Turn the size choice into a procurement-ready specification
Before ordering, ask for a project submittal that turns the chosen size into an installable specification, not just a product photograph or wattage.
1. Confirm every physical dimension separately: visible aperture, ceiling cut-out, outer housing or back-box diameter, installation depth, and the ceiling thickness range. Request the actual cut-out template and mounting detail; a 75 mm aperture is not necessarily a 75 mm hole.
2. Request delivered lumens, CCT, CRI or Ra, beam angle, UGR data where applicable, lumen-maintenance information, input voltage and frequency, and input current. Compare LED trimless downlight options by photometric data, not wattage alone.
3. Confirm the driver make and model, minimum load, flicker performance, warranty, and replacement-driver availability. “Dimmable” is incomplete unless the supplier names phase-cut, 0–10 V, DALI, or the proprietary control method and confirms compatibility with your control system.
4. Require the quotation to identify the plaster-in frame, LED module, heat sink, and driver as separate items or as one complete kit, with delivery lead time and warranty terms. Searching for a trimless downlight supplier in Hyderabad is not enough; visually similar stock can have different cut-outs and drivers.
For stretch ceilings, obtain written approval of the rigid support platform, reinforcement ring, membrane cut-out, and heat-management interface from both installers before fabrication. The LightHouse can be compared fairly when its quotation records these dimensions, components, and controls in the same schedule.
Frequently asked questions
What dimensions do installers need for a trimless downlight?
Provide the visible aperture, ceiling cut-out, outer fixture or back-box size, and total installation depth. Include heat-sink clearance, connection space and driver space in the depth.
Does a larger trimless downlight aperture produce more light?
No. Match light output to the room and task, then use aperture size as a separate fit and appearance decision.
How do beam angle and spacing affect trimless downlight placement?
A narrow beam covers less area and needs tighter spacing, while a wider beam spreads light across more of the ceiling. Check both together to prevent dark patches.
Should you choose a round or square trimless downlight?
Choose after checking the ceiling construction, framing, plaster thickness and available installation depth. The ceiling system can limit which shape installs reliably.
What should a procurement-ready trimless downlight specification include?
List aperture, cut-out, fixture dimensions, installation depth, wattage, lumen output, colour temperature, colour rendering, beam angle, driver details, ceiling compatibility and finish.
Keywords