A magnetic LED light that flickers, goes dark or stops responding may have a displaced module, contaminated contacts, a failed driver or a wider track fault. By following a safe isolation, inspection, reseating and testing sequence, you can identify the cause without treating every failure as a replacement job.
Key takeaways
- Test the circuit before replacing any LED module.
- Isolate power before removing or reseating the module.
- Clean track contacts without bending or damaging them.
- Check the driver and heat path before declaring the module failed.
Check the circuit and symptoms before touching the fixture
If every module on a track is dark, suspect the supply, driver, wiring, track feed, or control signal before blaming an LED module. If one module is dark while others operate, inspect that unit’s contacts, connector, local driver, or LED board. This split prevents replacing a good module for a system-wide fault.
- Check the distribution board for a tripped MCB or RCBO, then confirm the wall switch is on. If the circuit uses a dimmer, verify that its load rating and dimming method match the magnetic system.
- Compare symptoms across the installation. Flickering across every module points to supply, driver, or control trouble; flickering in one position points to a loose contact, displaced module, or local connector.
- Look without touching for scorching, melted plastic, a loose trim, a shifted module, bent track, damaged end cap, or signs of mechanical movement. A magnet holds the unit in place, but retaining clips or the manufacturer’s locking method control overhead safety.
- Before handling anything, switch off the correct upstream circuit, prevent re-energisation, and prove the track is dead with a suitable voltage tester. Magnetic attachment does not make an energised electrical connection safe.
For magnetic lighting maintenance, record whether the fault affects one track or the whole installation, along with the installed brand or system family, voltage, driver model, control method, access conditions, and ceiling finish. On-site fault finding differs from workshop repair or supply-only replacement; confirm matching modules and drivers before arranging service.
Isolate power, remove the module and reseat it correctly
Turn off the correct circuit at the distribution board before touching the module. A magnetic connection does not make an energised track safe to handle.
- Switch off the wall control, then open the relevant MCB or RCBO. Identify the circuit clearly and prevent accidental re-energisation while you work.
- Prove a suitable voltage tester on a known live source, test the track contacts and module connector, then prove the tester again. Do not rely on a wall-switch position or a non-contact detector alone.
- Support the module with both hands and lift it away from the track without twisting, prying, or pulling its cable. Unplug any connector by its housing, not by the wires.
- Check for displaced contact pins, loose connectors, black marks, melted plastic, a damaged track, or heat-stressed wiring. Stop if you find scorching or a loose electrical part.
- Match the module’s polarity marks, connector orientation and track position. Place it flat against the track and let the magnets hold it; never force a module that does not sit level.
- Restore the MCB or RCBO only after the module is secure and clear of tools. Test for steady light output, flicker and abnormal heat.
If reseating does not restore the light, isolate power again rather than repeatedly moving it. For magnetic led light repair in Hyderabad, provide the technician with the installed system brand, track voltage and any visible heat or connector damage.
Clean the track and restore reliable electrical contact
Clean contact surfaces with a lint-free swab lightly moistened with 70% isopropyl alcohol. Never spray liquid into the track, pour cleaner on the contacts, or scrape oxidation with a blade; moisture and scratches can create a new intermittent fault.
- Keep the upstream circuit isolated, prove the track is dead with a suitable tester, and remove the module without twisting it against the track.
- Inspect the module pads and track contacts for dust, oxidation, flattened spring contacts, scorching, or a loose feed connector. Stop if you see melted plastic or burned copper.
- Wipe the contact faces, allow them to dry fully, and check that each spring contact moves freely. Do not bend it with a screwdriver or use abrasive paper.
- Match the module’s polarity marks, contact spacing, and mechanical orientation with the track. Push the connector fully home until its locking feature engages; never force a plug that does not fit.
- Reseat the module squarely so its magnets hold the body flat and both electrical contact groups touch evenly. A light that flickers when moved is not properly seated.
Restore power only after the track and module are dry. If the light remains off while other modules work, or the fault returns after reseating, stop repeated substitutions and arrange magnetic LED light service. Record the track voltage, module position, connector condition, and whether movement changes the symptom for the technician.
Separate a failed LED module from a driver or heat fault
A single dark module points to a local fault; every module on the track being off points to the supply, driver, track feed, wiring or control system. A light that works briefly, flickers after warming, or shows scorching also requires a heat-path inspection, not automatic magnetic LED light replacement.
1. Confirm the scope. For one failed module, inspect its magnetic contacts, connector, local driver and LED board. For multiple failed modules, check the MCB or RCBO, track input, driver output, wiring and dimming signal before removing individual lights.
2. Separate module and driver faults. A loose connector, bent contact or dirty track contact can interrupt one fitting. A failed driver leaves its connected modules dark or unstable; a thermal fault appears as shutdown after warm-up, discolouration, a loose heatsink or blocked ventilation.
3. Match the replacement before fitting it. Confirm the track’s rated voltage, contact arrangement, polarity, physical profile and control protocol. Check forward-voltage and current requirements, driver type, connector pinout, dimming method, colour temperature, colour-rendering specification, beam angle and thermal interface—not wattage alone.
4. Do not connect a constant-current module to a constant-voltage driver, or bypass its driver. A 24 V, 48 V and mains-voltage system are different systems, and the wrong pairing can cause immediate overcurrent or rapid LED failure.
Record the failed item, system voltage, driver model and output, measured input and output values, module specification, control method, corrective action and post-repair result. If the track, wiring, ceiling access or control equipment is damaged, arrange a qualified wider system repair rather than supply-only replacement.
Power up, test the restored light and document the repair
Restore power only after the module sits squarely on the track, its contacts are clean, and the retaining feature is engaged. Test the repaired light at full output, through its dimmer or control system, and during normal operation long enough to expose flicker, delayed starting, heat-related dropout or intermittent contact.
- Confirm the module switches on and remains steady for at least 15 minutes.
- Check brightness, beam direction, colour consistency and visible glare against adjacent fittings.
- Test the wall switch, dimming range, scene control and emergency-lighting function where installed.
- Inspect the track, magnets, clips, end caps and feed connector for movement, arcing or heat marks.
- Record the failed item, system voltage, driver model and output, measured input and output values, module specification, control method, corrective action and post-repair result.
Arrange an on-site magnetic lighting service in Hyderabad when every module on a track is off, the driver or track feed is suspect, the ceiling finish restricts access, or the light repeatedly fails after reseating.
For magnetic LED light for maintenance in Hyderabad, confirm the installed brand or system family, voltage, track type, access conditions, ceiling finish, and availability of matching modules and drivers before quoting. The LightHouse can use those details to distinguish fault finding at the installation from workshop repair or a supply-only replacement.
A replacement must also preserve beam angle, lumen output, glare control, trim dimensions and any emergency or fire-rating requirements.
Related products
 | ₹4500 Magnetic led track View product → |
 | Magnetic Series | Trimless Magnetic Lighting System | Architectural LED Lighting ₹2800 The Light House offers premium Trimless Magnetic Lights designed for modern architectural and interior lighting applications. View product → |
Frequently asked questions
What should you check when every magnetic LED module is dark?
Check the power supply, driver, wiring, track feed, and control signal before blaming an LED module.
How do you safely reseat a magnetic LED module?
Isolate power, remove the module, inspect its contacts and connector, then reseat it evenly in the track.
How do you restore reliable electrical contact in a magnetic LED track?
Clean dust and oxidation from the track and module contacts, then check for bent, loose, or damaged contact surfaces.
How can you distinguish a failed LED module from a driver or heat fault?
Compare the module with a known-good unit, test the driver output, inspect connectors, and check whether poor heat transfer causes shutdown.
Related products
 | ₹3400 LED MAGNETIC TRACK LIGHT View product → |
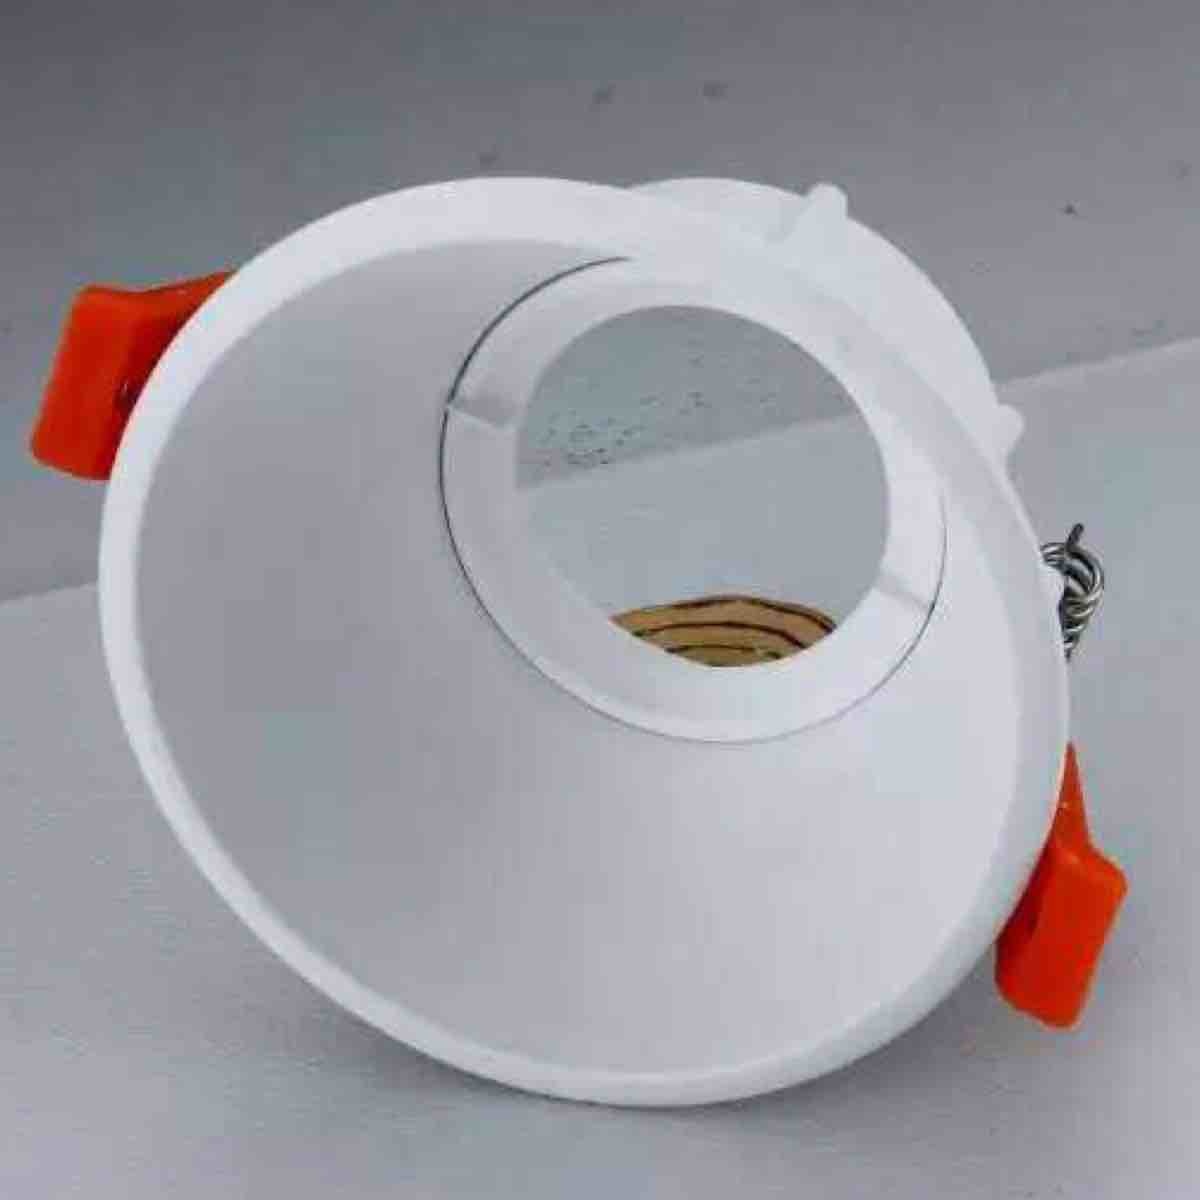 | ₹300 Suitable for all COB SPOT LIGHTS,MR16LED LIGHTS View product → |
Keywords